
Complete your onboarding
Onboarding gives TensorAlgo enough information to create your first usable workspace. In a few steps, you set the identity other TensorAlgo features can use and choose the market you want the starter dashboard to focus on.
You are not locking yourself into one permanent setup. After onboarding, you can change the dashboard, add permitted cards and markets, create more Playbooks, and build your Profile/Public Page when you want to.
1. Choose the name you want to use
Enter the display name you want associated with your TensorAlgo account and wait for the availability/validation checks to complete.
A clear display name is useful beyond onboarding because the same identity can be used across creator, Profile/Public Page, Marketplace, and referral experiences where applicable.
If the name is unavailable or does not pass the shown rules, adjust it and continue once the field is valid.
2. Choose your starter market
Next, choose the supported market you want TensorAlgo to use for the initial dashboard.
Current supported futures families are:
- NQ
- ES
- GC
- SI
Current supported crypto choices are:
- BTC/USDT
- ETH/USDT
- SOL/USDT
- XRP/USDT
- DOGE/USDT
- BNB/USDT
- ADA/USDT
- AVAX/USDT
- LINK/USDT
- LTC/USDT
The onboarding view can group futures, Crypto Gamma-enabled markets, and clean starter markets. Use Show more clean starters when you want to reveal the rest of the supported crypto choices.
Choose the market you actually expect to look at first. You can add other permitted markets later.
3. Let TensorAlgo create the starter workspace
After you confirm the starter market, TensorAlgo creates the initial dashboard configuration for that choice.
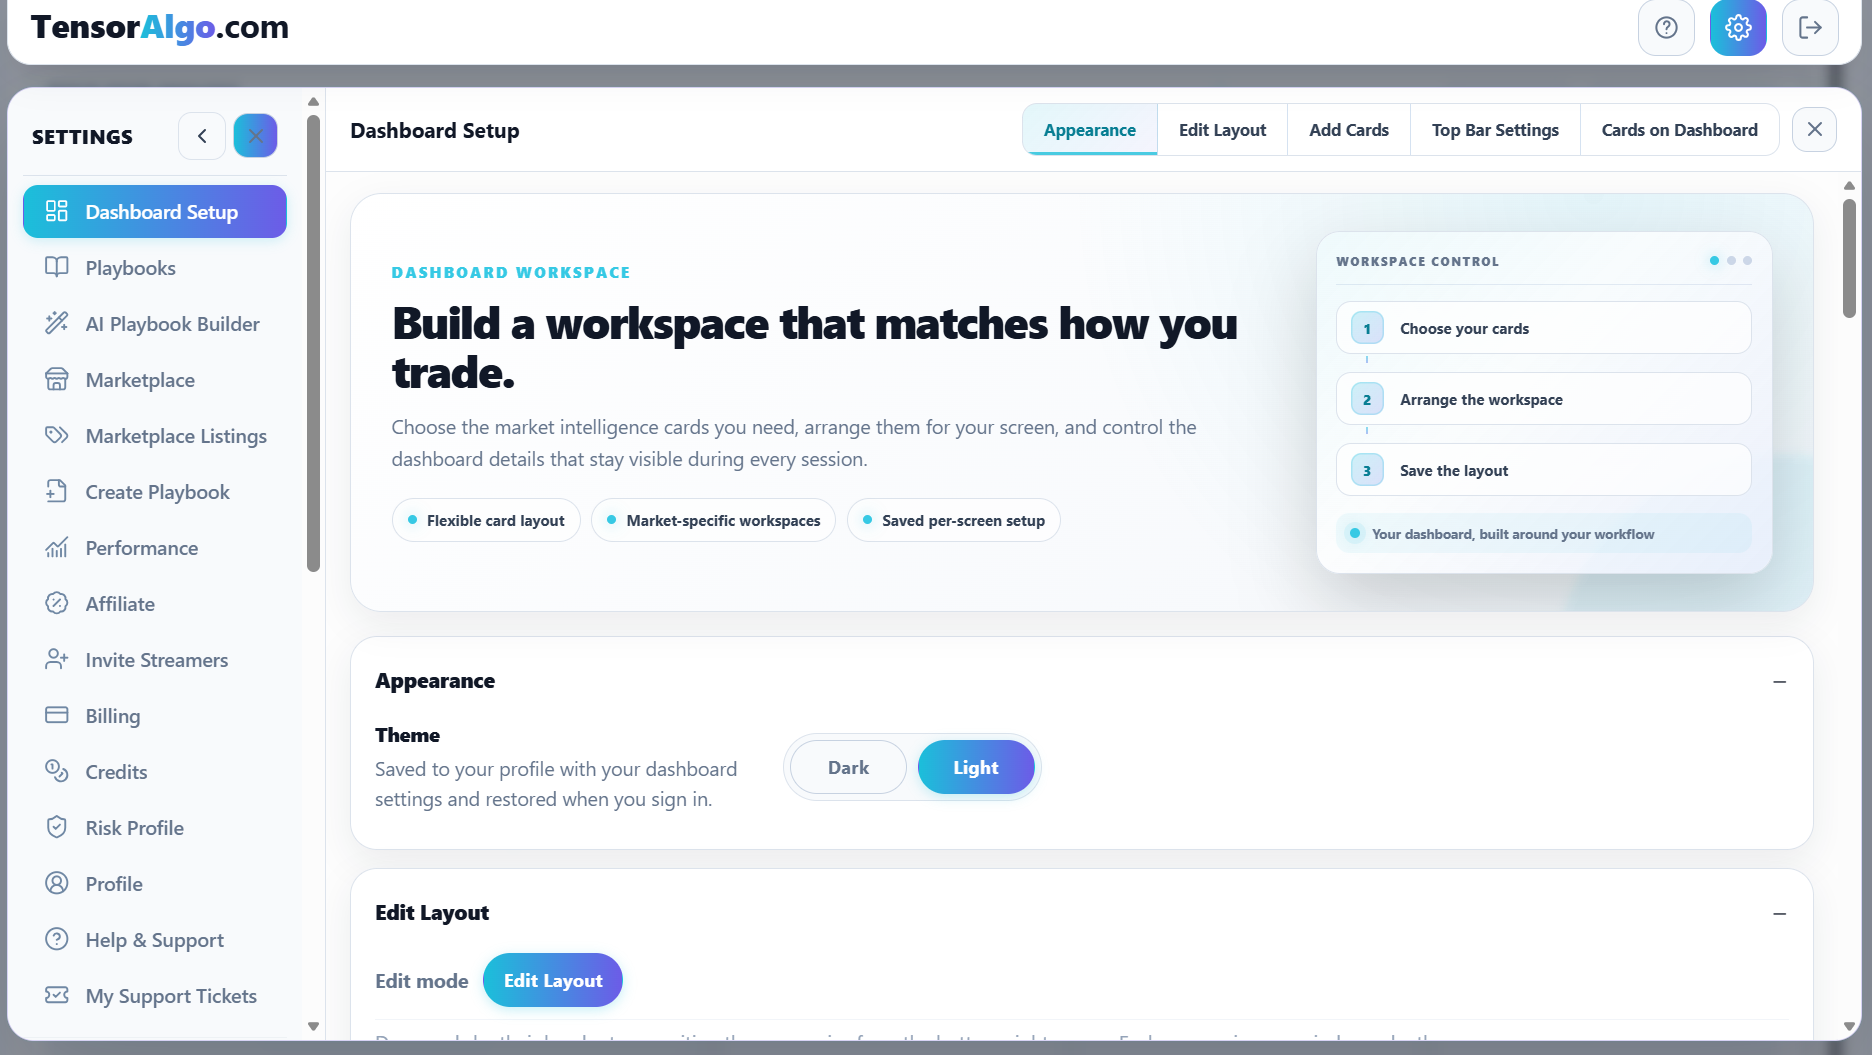
Think of this as a useful first layout rather than a final design. The Dashboard Setup area exists specifically so you can tailor the workspace to the way you trade.
4. Take a quick tour after onboarding
A practical first five minutes is:
- open the dashboard and see which starter cards were created;
- open Settings → Dashboard Setup to see how cards and markets are managed;
- open Settings → Playbooks to see the Playbooks available to the account;
- open Create Playbook or AI Playbook Builder when you are ready to define your own setup;
- return to the dashboard and watch how Playbook activity, Trade Tape, and Trade History connect.
What to do next
If you want the quickest route into the product, continue with Set up your starter dashboard, then Understand your first setup.
If you already have a strategy idea, you can go directly to Create and activate your first Playbook. AI Playbook Builder is the fastest path when you want TensorAlgo to help translate the idea into supported Strategy Blocks; manual building gives you direct control.
If onboarding does not complete
Check the item that is still highlighted first. Common blockers are an invalid/unavailable display name or a starter-market selection that has not been confirmed.
Do not repeatedly restart onboarding if one field is the only issue. Correct the highlighted step and continue. If the account repeatedly returns to onboarding after the required fields are complete, refresh once and then open a Support Ticket if the state still does not save.